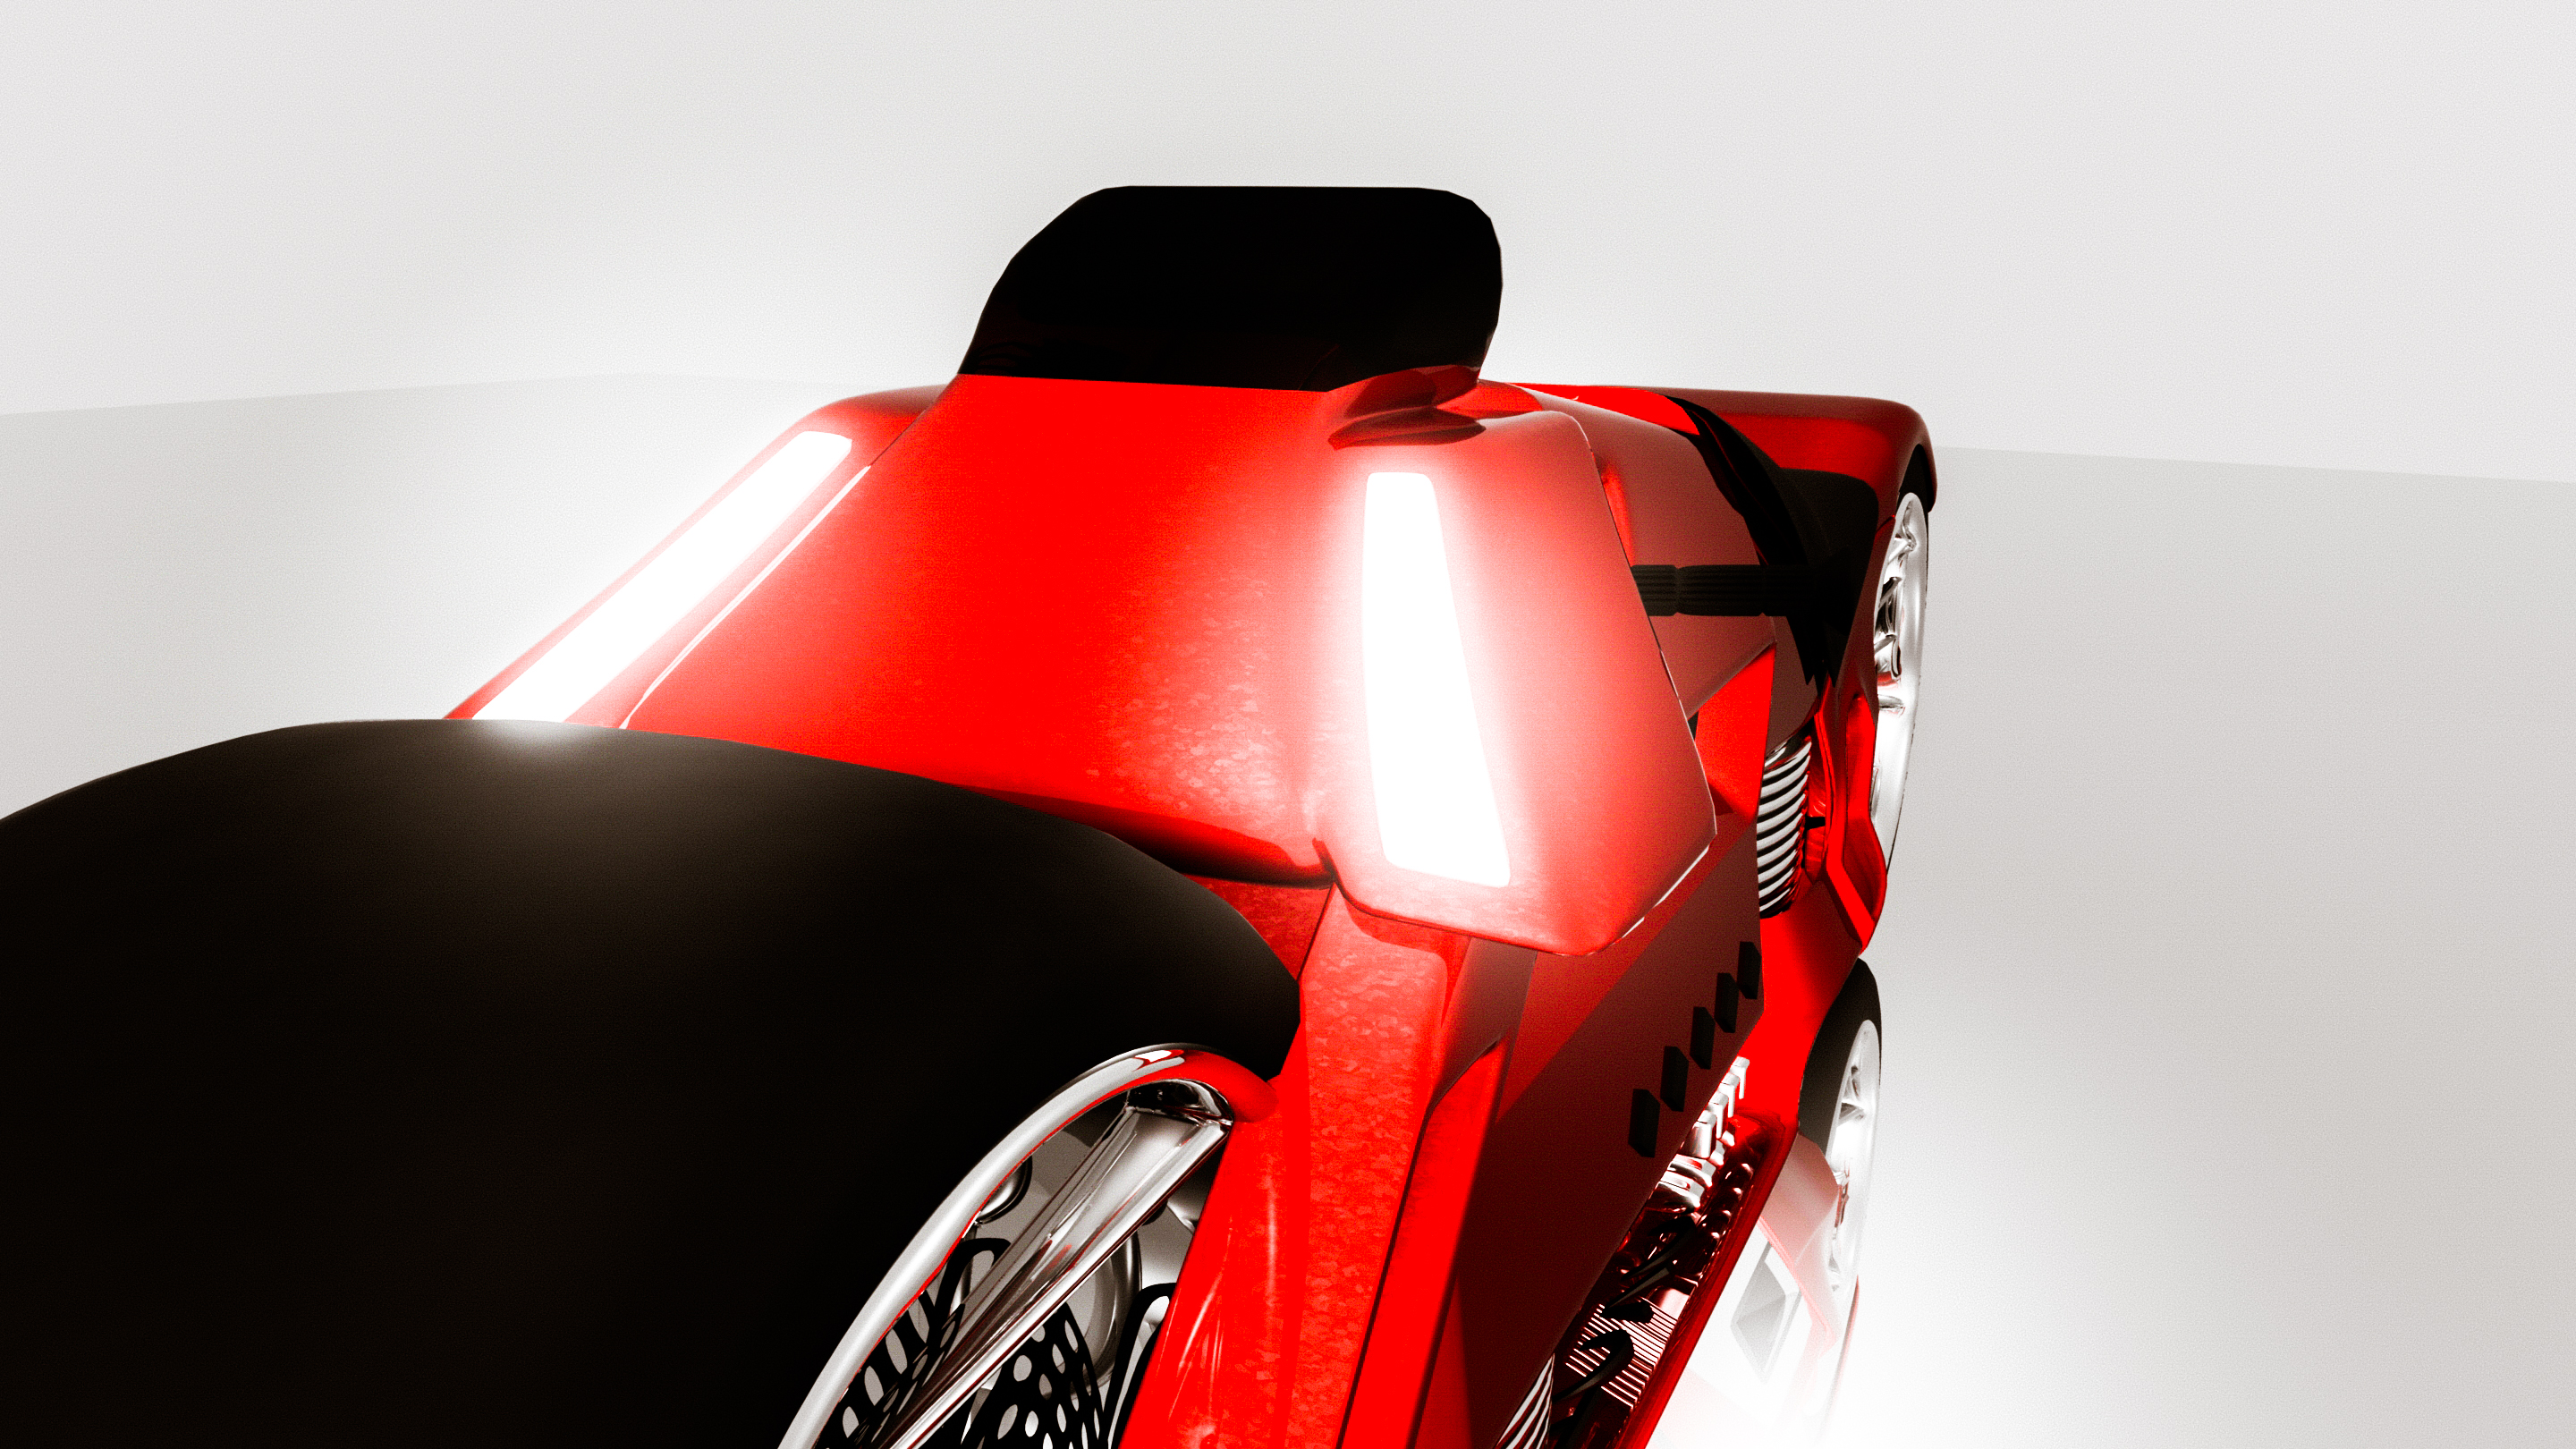
The Porsche M Concept
I ran into the M concept surfing the web and I thought hey lets build something fun. yesterday we were on location filming a training video with green screen and were just sitting in the office waiting for the tiles to download (the things we do while we wait), Finding some reference images I pulled up maya and started drawing three hours later I came up with this.
Since hindsight is twenty twenty I don't think I should have colored it in white and maybe I added to much lens flare, this looks less real and more cartoony. That being said I will re render it out in the future to make it more realistic. For 3 hours of my time, it came out very cool.
The Porsche M concept was modeled on Maya Autodesk, color corrected with Adobe Lightroom and animated with Adobe Aftereffects and Adobe premiere pro.
GreenScreen Setup and Keying in Aftereffects.
GreenScreen setup and keying in Aftereffects.
Hey this is Malcholm Reese with mjrvisuals.com and today I’m going to talk about green screen and keying. Now I will be honest I have a print out of ninety nine percent of the editing stuff I do, its really just as a reference because how often in a day do you do everything. Not to often. So for things like particular, or form or even c4d and maya I have cheat sheets on how to get to where I’m going. You ask why don’t I just save the preset, well when new people come to work here and to get them up to speed quickly, it’s easier just to hand them the guide and there you go. It’s like instant experience. Now I say all this because I recommend that you do the same, keep a book or reference folder or something so you can always have something that doesn’t rely on electricity to review. Wow, that sounded old, now I sound like my father. Computers are taking over everything back in my day I did everything by hand! I digress.
So we are looking at my man Ben, on a green screen. Now the only things we are going to pull down to key him out, are Keylight and simple choker.
Pull in your video file into the composition, now duplicate that file.
Pull down key light into the top layer video file, next go to screen pre blur and adjust accordingly, the range I normally use is between 2 and 3. If you didn’t know Pre Blur adjust how much blur to apply to the matte before the key is pulled its good to use as it gets rid of weird edges.
Change the view to screen matte, in this view it’s easy to see what our matte is looking like. Adjust Clip Black and Clip White until the subject or object that is the focus is white and the area you want removed is black.
Next adjust screen shrink then change replace method to hard color and adjust the color. Pre compose the layers and place the simple choker on the pre comp and adjust again I use between .5 and 1.25, there you go export and your ready to use it in your video. Now I will be honest I like to color grade in premier pro with the rest of the files that way I can ensure a perfect balance in color, contrast, saturation with any files that will not have aftereffects in it. It just makes my finished work better.
Exploring the Adobe Presets in After Effects
This is Malcholm Reese with mjrvisuals.com and in this episode i’m going to break-down animation presets in aftereffects. Let me rephrase that i’m not going to break them down individual but better yet show you where you 1can go to find out visually what the presets do.
It was funny, when we were sitting around talking about making these tutorials I kept arguing that it doesn’t have to be this basic, but then I was reminded about how I learned and honestly I didn’t know about this shortcut until like 4 years into editing. When I discovered it i was like “where have you been all my life” but by then I stopped using presets really anyway but dang if I would have known.
Anyway, presets are I guess what Adobe thinks is the most used applications or maybe the most versatile applications? In any case if your new to after effects they come in handy if not for editing purposes then for really good learning tools by backwards animating them, which is figuring out what Adobe did to make it and making it yourself.
I’ll be honest, you guys are probably not as slow as me, because, when I first started I went animation presets by animation presets clicking, draging, dropping the preset into my comp to see what happens. click, drag, drop, delete, repeat Yeah that was me. Then I discovered adobe bridge, well at least I discovered bridge and the “browse animation” (as I do the air quotation symbol) shortcut located in the menu bar really at the same time.
Now what the shortcut does is actually it opens up adobe bridge in a window that allows you to view the presets one by one, like this. Pretty cool, and easy.
Now you can apply your preset in a number of fashions, you can click apply preset which will open a new window and take you to the script window where you can highlight and apply the preset you found, or you can just double click in bridge and it will apply accordingly. Now it does show a application error but the preset is on the solid you had selected. Go through, explore, take the time and look at if not all of them most of them.
I hope this save you time in your editing again this is malcholm reese with mrjvisuals.com make sure you check out my other highlight, tutorial, and animation videos see you next time.
Color Grading in Adobe Premier Pro
Quick Tips on Color Grading
Hey this is Malcholm Reese with MJRvisuals.com and today I’m going to talk about color grading. So what is color grading well Wikipedia says that color grading is the process of altering and enhancing the color of a motion picture, video image, or still image. Now I’ve heard it called color correction as well, in the end they mean one in the same thing and for a quick tutorial on color grading, or color correction the definition isn’t that important. What is important is that you do it and here in lies the problem. With the increase of videography in social media I see more and more phenomenal editing by people with no or little formal training, I guess YouTube university needs to start handing out certificates because some of the people are really really good, amazingly so. The issue is the little details. the difference in a a hundred dollar job and a five thousand dollar job are big things but the difference in a five thousand dollar job and a fifty thousand dollar job are the little things and color correction is one.
Ok. so there are plug ins out there that work wonders the Mojos of the world that let you drop and forget, and i see a lot of that.But they say if you teach a man fish well you know the saying.
Now to Adobe Premier Pro and the Color Correction folder.
I’m fond of using just three things really and that’s if I’m not using my favorite plugin, shout out to red giant colorista, my go tos are brightness and contrast, the three way color corrector and the fast color correct. simple and to the point. I will say that Adobe works in layers, so the way you place them on the video file does have an effect in the final output meaning there will be a slight difference in visual output if brightness and contrast is under fast color correct and vice versa.
I personally like to film on cinema flat which is a Canon Log setting that takes out the color ,saturation, and contrast details which makes everything pretty much flat, most cameras have this setting if yours does not you can easily accomplish the same thing by down cracking your contrast, brightness and saturation manually. I do that because I film with multiple cameras and the flatness allows for easy matching of colors from camera to camera.
My normal layer set up is brightness and contrast first, then the three wheel color corrector second and then fast color corrector last.
I’ll be honest I very rarely adjust the brightness but always adjust the contrast normally between 10 and 30. Do you see the difference?
next I go to three way color corrector, now I like turning on the tonal range definition and adjusting the input and output levels, I do this so I can control how the colors go where and, I can see what colors go where meaning shadows, midtones and highlights. When you turn on “show tonal range” it highlights the shadows, midtowns and highlights showing them by either black, grey or white, I like to adjust the saturation levels individually here, not really touching the master.
Finally I go to fast color correct, yes there is a big wheel here that does pretty much the same thing as the three way color corrector the main difference is control in the levels of manipulation. here is does everything while the 3 way you can adjust in parts. I like this because it controls all aspect of the video. I adjust the saturation and then adjust the black, grey and white levels.
It takes a little time but the five minutes here will increase the visually value of your video. Practice and you will get it to a science where instead of minutes it will take you seconds.
I hope this helps in your color correction again this is malcholm reese with mrjvisuals.com make sure you check out my other highlight, tutorial, and animation videos see you next time.
Urban Kempo
Urban Kempo is a martial arts company located in Alexandria VA. We were asked to initially produce their home page website commercial. The process was interesting even to the point of filming with the drone on location. Great Great shots.
We have since produced a number of videos, the opening animation and a number of GREAT pictures used in their branding, marketing and advertising campaigns.
If you are looking for a location to not only practice a martial arts form but also have a great workout, you must check them out!
Contact us for commercials and logo animation.
Urban Kempo Workout from MJRVisuals on Vimeo.
Urban Kempo the Art of Technique from MJRVisuals on Vimeo.
Urban Kempo from MJRVisuals on Vimeo.
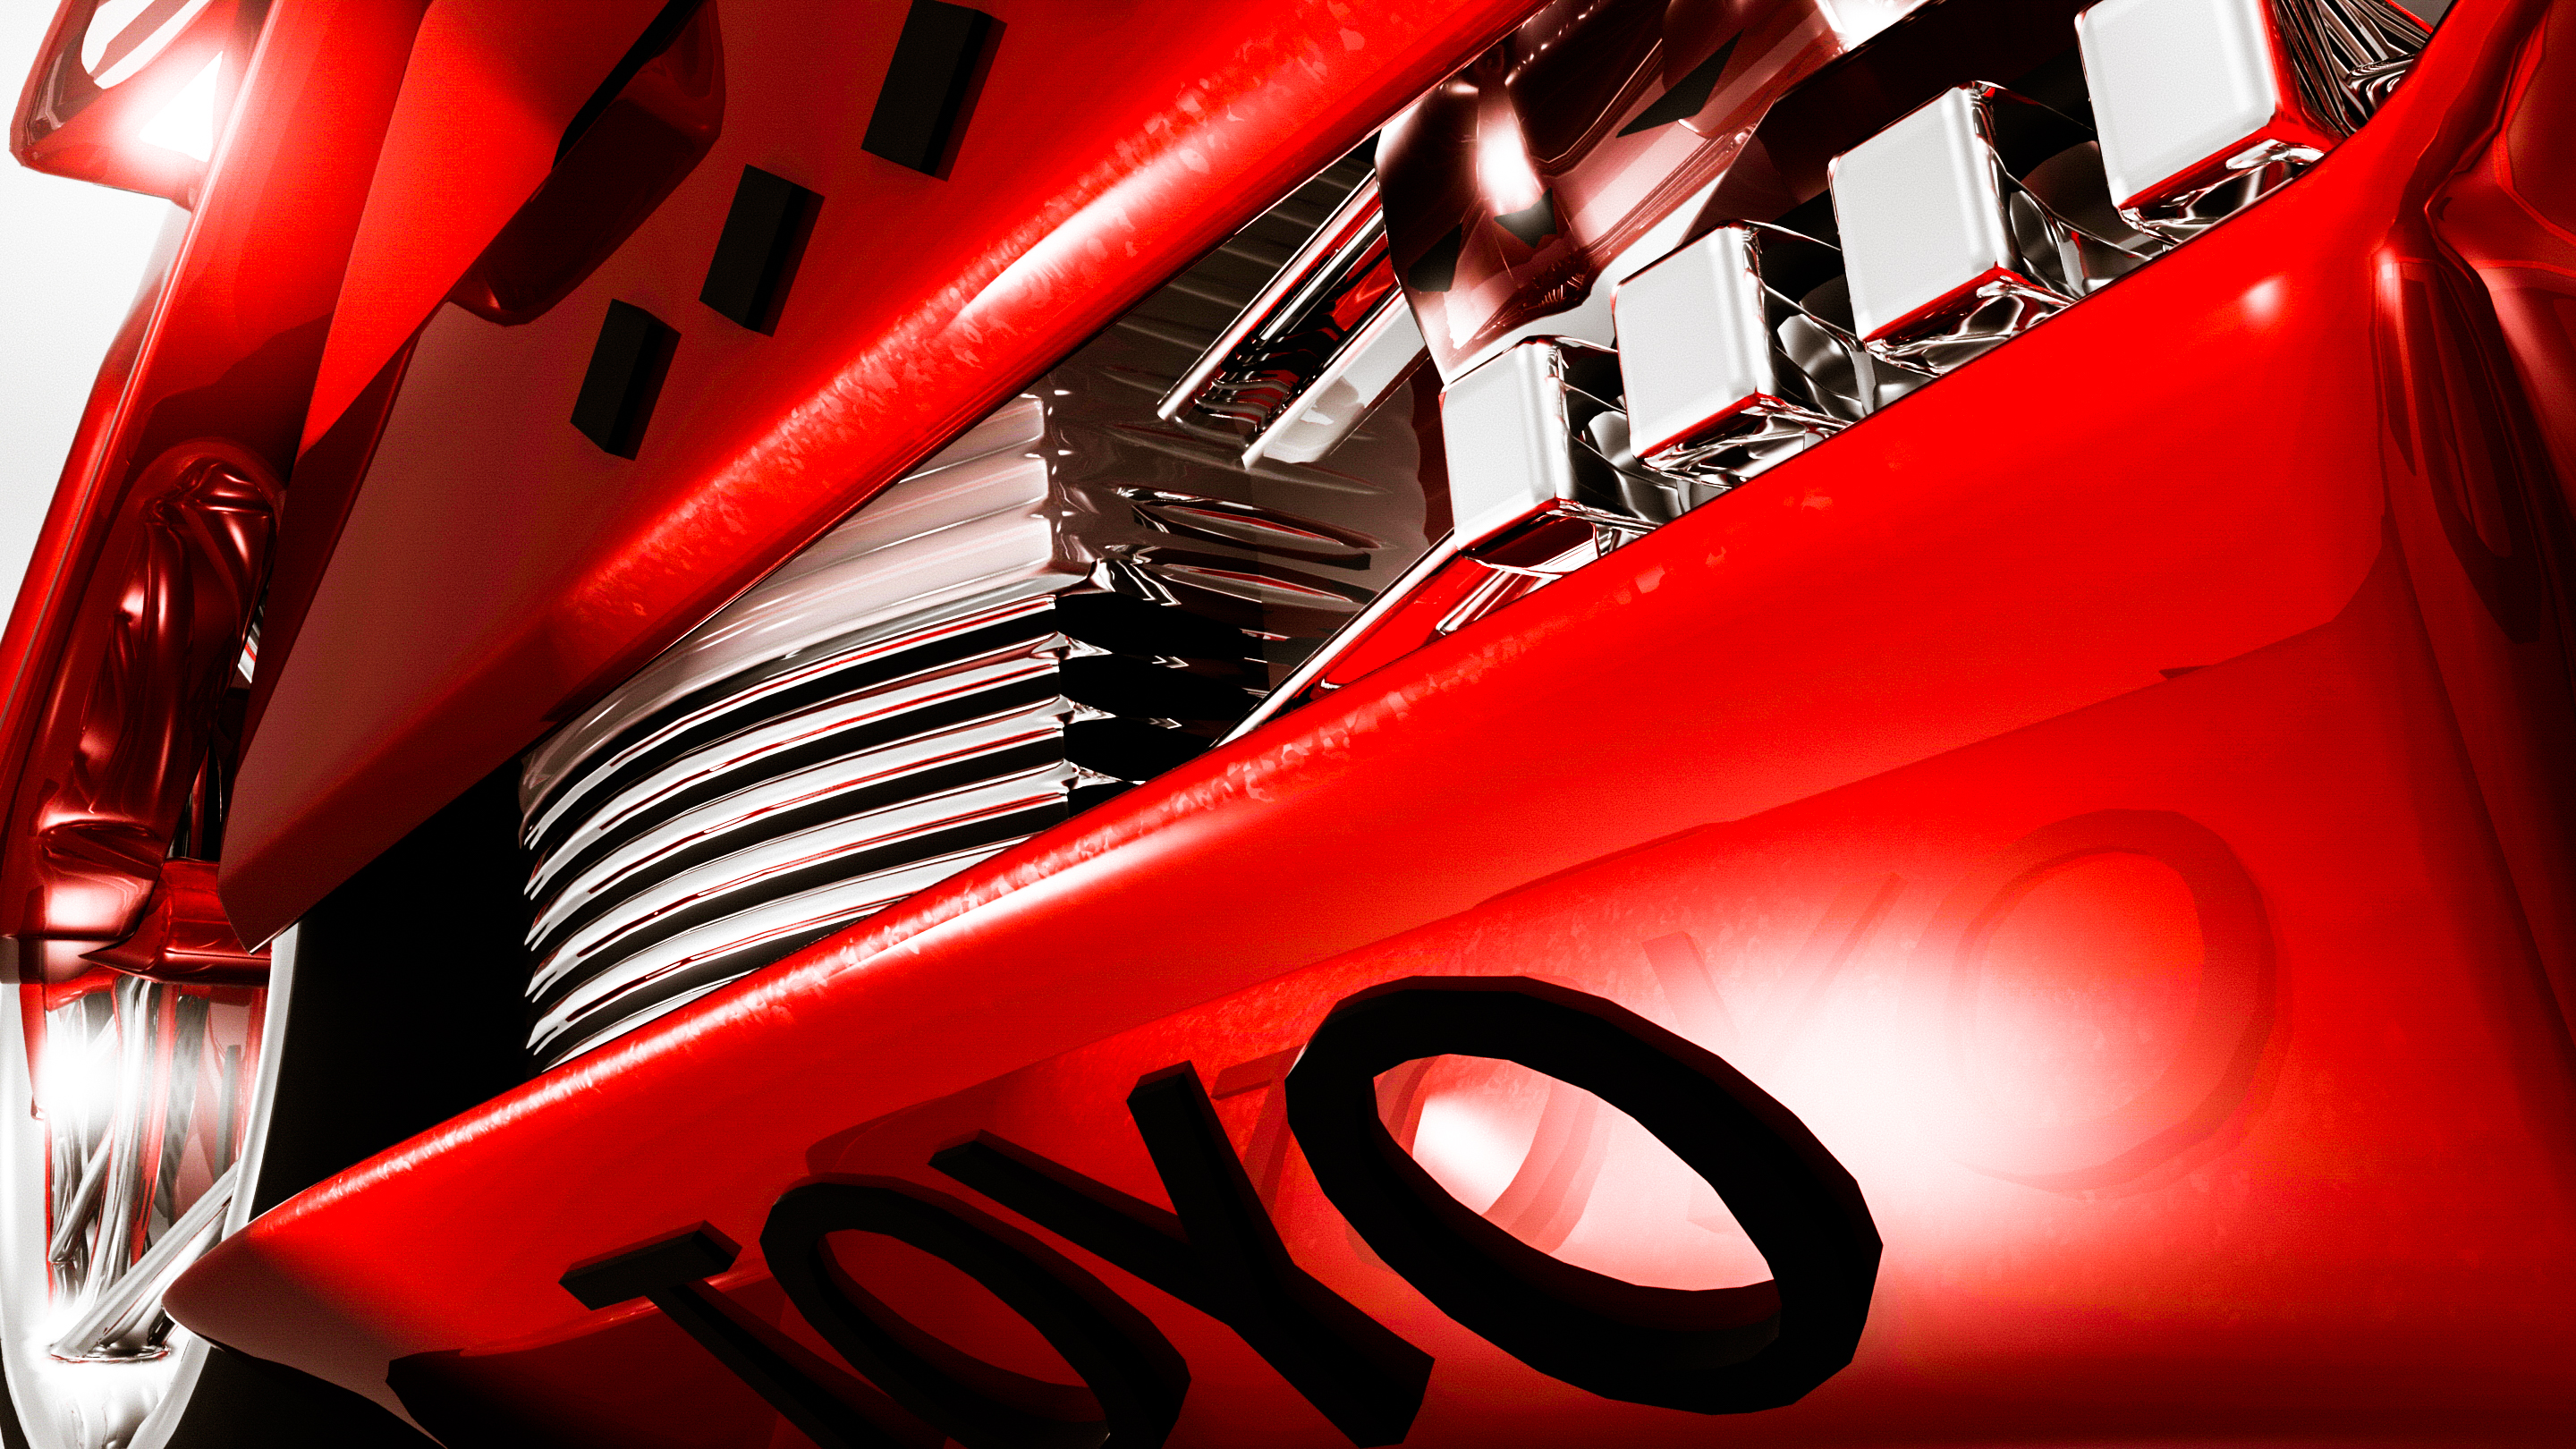
DC Toyo Motorcycle Model
DC Toyo Bike from MJRVisuals on Vimeo.
This is was a daily project I did this morning. After editing and filming daily it good to relax and find some inspiration while scanning google pages.
The process is simple; find something that inspires you and model it. We use Maya Autodesk software, Photoshop, Lightroom, Aftereffects, Adobe Bridge and Adobe Pro Premier during the process of editing, modeling and color correcting.
I hope you enjoy the art.


Google and the small business
BuzzFeed just spilled the secret that Google plans to announce a new product that helps in-home service businesses connect with customers better. They didn’t reveal just how the product would do this, so we will have to sit tight until the announcement later this Spring.
This is no surprise, as Google has been making many efforts to help businesses connect with customers better.
Since 2011, Google’s Get Your Business Online Team has provided workshops in every U.S. state to equip thousands of business owners with a one website, an updated Google Maps and an updated Google Search listing.
One small business owner saw significant increase in sales after updating her business information in a Google workshop. According to Google, only 37% of businesses claim a local listing on a search engine, and 4 out of 5 people use search engines to get information about businesses.
Two weeks ago, Google launched the ‘Let’s Put Our Cities on the Map,’ which is a new program to help 30,000 cities get their local businesses online.Its goal is to not just reach thousands of business owners, but every business owner, which, in turn, helps states generate even more revenue.
Each city gets a custom website with helpful resources and a diagnostic tool to see how your business appears on Google Search and Google Maps. Each also has a step-by-step guide for creating and updating your Google My Business listing, and businesses can get a free website and domain name for one year with Startlogic, who is a Google partner.
On top of the custom website, Google is partnering with local business and community organizations and providing tools to run workshops to help its initiative. You can visit gybo.com to check out your city and help your favorite local business get on the map.
To get in touch with MJR Visuals for your next video project, send us a message in our contact form today!


